Buying Paintings: Gothic Art
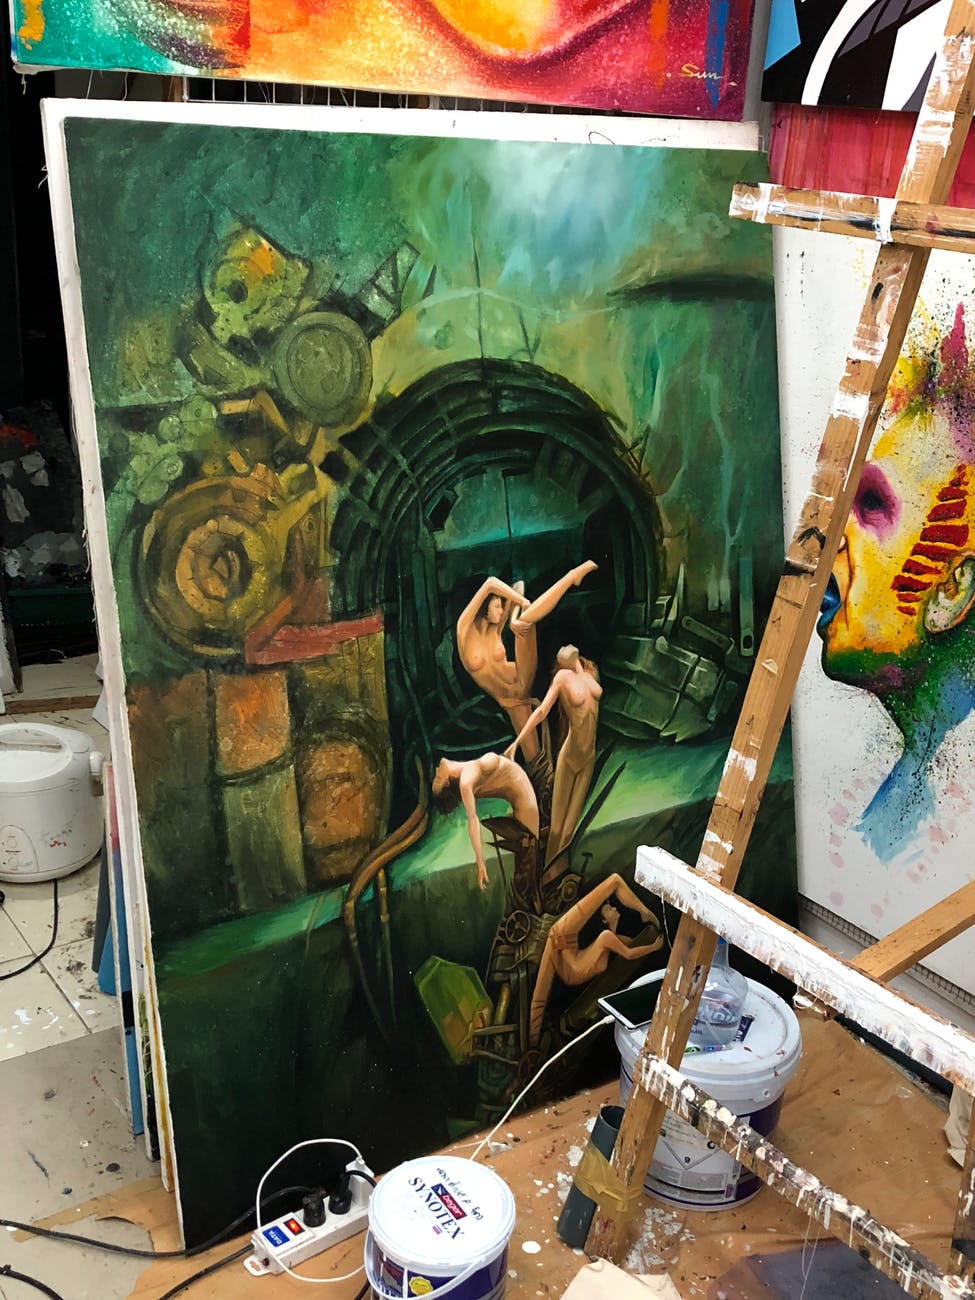
Photo by Rene Asmussen on
Pexels.com[/caption] Some of the most valuable early artwork comes from a point of time before the Renaissance had begun, and going on through the early Middle Ages, referred to as the period of Gothic art. During this particular time in history, the artwork took on telling narrative stories through pictures, and much of these pieces were Christian and secular in nature. Some of the earliest examples of Gothic art are sculptures found on cathedral and abbey walls, and the first real form of Gothic artwork began as architectural works in fact, even becoming the subject matter for many stained glass windows at the time. The style of painting that further defined Gothic art wasn’t produced until nearly fifty years after Gothic architecture and sculptures, and even though the break between Romanesque artwork and the Gothic styles has remained imprecise at best, the beginnings of Gothic artwork seems to occur in various areas at different but related intervals. The artwork began in England and France around 1200, and in other areas like Germany and Italy between 1220 and 1300. The paintings stayed just as narrative as the architecture on church walls during this time, and has stayed the territory of secular storytelling for a long time afterwards. Though Gothic art in paintings has had a relatively short time as the medium of choice amongst the artists, there is evidence that the artwork falls into four particular styles of these paintings, and these were the most common forms during this time period. The fresco, the panel painting, the illuminated manuscript, and the artwork done on stained glass are all depictions of Gothic painting. Of these particular types, stained glass artwork had remained a strong reminder of those ages long past, and is still created by master artisans that learned their trade skills from these dark ages. In the case of the other three particular forms of Gothic painting, frescoes continued to be used as the pictorial narratives on church walls in southern Europe, and were a consistent incorporation of early Christian and Romanesque traditions. In Italy, during the 13th century, the panel painting began and spread throughout Europe. With this proliferation, panel paintings became even more predominant by the 15th century, and becoming even more popular than stained glass at the time. Since not all monumental works have survived, illuminated manuscripts are the most complete record of Gothic painting, and provide a comprehensive account of styles that would otherwise perished. As the state of the world began to change, so too did the interpretations of the artwork as a reflection of these changing times and attitudes, and the movement became known as International Gothic by the late 15th century. From there, it had evolved into an art form depicting not just secular stories and allegories, but also resulted in the occurrence of more illuminated manuscripts and paintings as increased trade and the rise of cities and universities grew. With this proliferation of growth, more people were literate, and lead to better records kept with this occurring. Leading up to many of the well-known medieval artists today. The International Gothic style of artwork was developed in Burgundy, Bohemia, and northern Italy in the late 13th and early 14th centuries. During this period in Gothic art, artists traveled widely around the civilized world at the time creating a common aesthetic among the aristocracy of the time, and removing the concepts of contrary artistic styles. The main influences for this period in artwork were derived from northern France, the Netherlands, and Italy. It was during this time, that aspects of rational uses of perspective and setting became a common feature, and other features included flowing lines and rich coloring. In the case of Gothic sculpture, it had evolved from the elongated forms of the Romanesque style, and became a more naturalistic expression in the early 12th and late 13th centuries. Influences from Greek and Roman statuary were incorporated into drapery, facial expressions, and poses. The sculptor Claus Sluter and the changing tastes for more naturalistic styles became a harbinger for the end of the Gothic period of art, and signaled the beginning of the evolution into Renaissance period at the end of the 15th century. [gallery ids="162,168" type="rectangular"] In a time period where upheaval was the normal occurrence of many of the people then, Gothic art fell into the broad scope of medieval artwork that included such disparate elements and styles as Viking art and Celtic art, but in varying degrees relied upon the artistic heritage of the Roman Empire and the early Christian Church. In fact, much medieval artwork has the history of these elements conjoining and converging into the remarkable artistic legacy we read about today, and have contributed over time to the outcome of many other forms of art Renaissance
Website Stores

http://art-and-craft-hobbies.com/

http://art-and-craft-hobbies.com/shop/

group Art Studio of Lewis Baber , Post and Sell your ART. https://www.etsy.com/shop/Magikaljourneys?ref=seller-platform-mcnavArt

Two Old Guys Folk Art Share this: http://Gallery-Wall-Art.com

 Clay Pot Crafts: Make a Bell for the Porch
Clay pot crafts are a cute way to make home decorations. In clay pot crafts, clay flower pots can be crafted into a variety of decorative things that appeal to gardeners. Usually, the crafter begins with new pots. The pots are often decorated with paint as well as being tied together with rope or cord to create things.
Pots for clay pot crafts can be purchased in many different sizes, from tiny ones not more than 2 inches in diameter, to huge ones over a foot across. For a beginning project, start with smaller pots. The beginner should also choose clay pot crafts that don't use too many pots in too elaborate a design.
An example of a good craft for someone new at clay pot crafts is to make a bell from two clay pots. Buy one pot that is about five or six inches in diameter, and another that is very small. You will use the small one as the clapper for the bell. You will also need some decorative cord, two large wooden beads, and paint in desired colors. You may also wish to purchase some glue-on jewels to decorate the bell. The bell makes a nice decoration for a front porch.
Cut the cord two feet (60 cm.) long. Fold the end over 3 inches (8 cm.) and tie in an overhand knot, making a loop. This loop is for hanging the bell from a hook or a nail. Now turn the larger clay pot upside-down. Pass the loose end of the cord down through the hole in the pot. Lay the pot on its side and slide one of the large wooden beads up the cord until it is about 10 inches (25 cm.) from the loose end. Now tie the cord around the bead so that the bead cannot slip from its position on the cord. If you have done this correctly, you can lift the pot by the loop. In clay pot crafts, the beads must be large enough to stop the cord from going through the hole in the bottom of the pot.
On the loose end of the cord, you are going to attach the small pot in the same way. Slide the small pot up the cord to make it easier to tie the other large wooden bead on the end of the cord. Now when you lift the entire arrangement by the loop, the smaller pot should hang freely inside the larger pot, making a pleasant sound when it claps against the larger pot.
Decorate the outside of the larger pot with paint as desired. You may like to paint it in black and white patches for a Holstein cow theme. You may also like to decorate the top of the bell with silk or dried flowers and greenery and a ribbon bow.
For a variation on this craft, make three of the bells and hang them from a horizontal piece of driftwood or other interesting piece of natural wood. When making hanging clay pot crafts, always make sure the beads are large enough and are tied tightly in place, because the clay pots will break if they fall to the ground.
Clay Pot Crafts: Make a Bell for the Porch
Clay pot crafts are a cute way to make home decorations. In clay pot crafts, clay flower pots can be crafted into a variety of decorative things that appeal to gardeners. Usually, the crafter begins with new pots. The pots are often decorated with paint as well as being tied together with rope or cord to create things.
Pots for clay pot crafts can be purchased in many different sizes, from tiny ones not more than 2 inches in diameter, to huge ones over a foot across. For a beginning project, start with smaller pots. The beginner should also choose clay pot crafts that don't use too many pots in too elaborate a design.
An example of a good craft for someone new at clay pot crafts is to make a bell from two clay pots. Buy one pot that is about five or six inches in diameter, and another that is very small. You will use the small one as the clapper for the bell. You will also need some decorative cord, two large wooden beads, and paint in desired colors. You may also wish to purchase some glue-on jewels to decorate the bell. The bell makes a nice decoration for a front porch.
Cut the cord two feet (60 cm.) long. Fold the end over 3 inches (8 cm.) and tie in an overhand knot, making a loop. This loop is for hanging the bell from a hook or a nail. Now turn the larger clay pot upside-down. Pass the loose end of the cord down through the hole in the pot. Lay the pot on its side and slide one of the large wooden beads up the cord until it is about 10 inches (25 cm.) from the loose end. Now tie the cord around the bead so that the bead cannot slip from its position on the cord. If you have done this correctly, you can lift the pot by the loop. In clay pot crafts, the beads must be large enough to stop the cord from going through the hole in the bottom of the pot.
On the loose end of the cord, you are going to attach the small pot in the same way. Slide the small pot up the cord to make it easier to tie the other large wooden bead on the end of the cord. Now when you lift the entire arrangement by the loop, the smaller pot should hang freely inside the larger pot, making a pleasant sound when it claps against the larger pot.
Decorate the outside of the larger pot with paint as desired. You may like to paint it in black and white patches for a Holstein cow theme. You may also like to decorate the top of the bell with silk or dried flowers and greenery and a ribbon bow.
For a variation on this craft, make three of the bells and hang them from a horizontal piece of driftwood or other interesting piece of natural wood. When making hanging clay pot crafts, always make sure the beads are large enough and are tied tightly in place, because the clay pots will break if they fall to the ground.
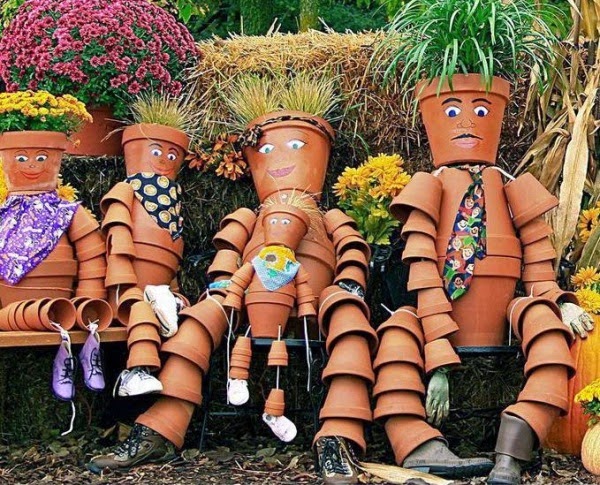
 Other clay pot crafts include making a large doll or scarecrow of nested pots strung together and painted. The doll can sit on a chair or a step of the front porch. Paint his face to look like a scarecrow, a jack-o-lantern, a gnome, or a child. Clay pot crafts are especially suited to being displayed outside.
 http://art-and-craft-hobbies.com/
 http://art-and-craft-hobbies.com/shop/
 group Art Studio of Lewis Baber , Post and Sell your ART.
https://www.etsy.com/shop/Magikaljourneys?ref=seller-platform-mcnavArt
Two Old Guys Folk Art
Share this:http://Gallery-Wall-Art.com
group Art Studio of Lewis Baber , Post and Sell your ART.
https://www.etsy.com/shop/Magikaljourneys?ref=seller-platform-mcnavArt
Two Old Guys Folk Art
Share this:http://Gallery-Wall-Art.com


 Movies, Anime, cartoons, and 3D animations, these are modern day entertainment that people could choose from if they are bored or something like it. A lot of people have overlooked the original and classic form of entertainment back when still pictures were the hit. What are these? Comics of course! Comics used to be the number one form of entertainment, back when TV did not exist yet. Reading comics is like having your own printed out movie. If you have a unique kind of sense of humor, and you like drawing, why not learn to draw comics? This would be very easy and fun at the same time! Here are some of the things you should consider if you want to start your own comic strip. What’s The Theme Of Your Comic Strip? Before you go on drawing in little boxes, determine first the type of comic strip that you want. Do you want a satiric comic? What’s the main theme? Is it about teenage life? Is it about married life? How about school life? Who are your intended readers? Is it about a super hero? Factors like these are important. Go ahead and brainstorm. If you are having a hard time on picking out a theme, get some inspiration with your surroundings. Observe people that you encounter daily or randomly. Try to come up with something new, fresh, interesting yet everyone could relate to. This would be a good basis of your whole comic strip. Have Some Characters You should also be equipped with a character line up. Have a main character and a couple of supporting characters. Map out the personality of each. Create their profiles, so that they could be unique from each other, yet you have had determined a working relationship for all of them. You do not really have to create a long list of characters. Just be ready with your main and a couple of staple characters. You can always add a new character to the gang in the future once you have a new idea for it. Now, practice drawing your characters. Draw them in different kinds of facial expressions and actions. Find A Setting You should also decide on a specific setting. Would it be during the Jurassic age ala Flintstones? Would you want it to be in a high school, just like Archie? Do you want to have your own imaginary city like Gotham city in the Batman comics? It all depends on your imagination. Once you have all these things settled out, that is the only time that you can start drawing. Draw Your Panel The panel refers to the number of boxes you are going to have in one strip. You can have three or four boxes for short strips that usually showcase only one scene or you can have hundreds that cover many pages that usually showcase a whole storyline. You can start out with short ones, just like the ones you see on your newspaper’s comic page. Have a plot for the scenes along with the dialogues you have in mind. Start plotting how you are going to fit your characters in the boxes, and then draw them. Put dialogue bubbles or boxes and write down their lines or thoughts.
  Once you are content with your drawing, put it into ink and erase sketch marks. Add some color if you want to, and you’re done! Website Stores http://art-and-craft-hobbies.com/
  http://art-and-craft-hobbies.com/shop/
  group Art Studio of Lewis Baber , Post and Sell your ART.
  https://www.etsy.com/shop/Magikaljourneys?ref=seller-platform-mcnavArt Two Old Guys Folk Art Share this:http://Gallery-Wall-Art.com http://wall-art-gallery.com facebook.com/groups/wallartgallerywallartgallery@groups.facebook.com


 How to Craft a Garden Scrapbook Garden scrapbooks can present a natural feeling when the audience is reading your storybook. Flowers are one of the popular natural-based elements that many people cherish. You can store flowers in a scrapbook to craft a garden style creation. To start you will need a dried flower. Compress the flower placing it into your scrapbook pocket, such as the memorabilia. Next, glue, tape, etc, the flower so that it is sticking on the page securely. You may have seen flowers preserved in bibles. The process in scrapbooks is similar, only you want to stick the flowers so that it does not fall out. How to craft flowers for scrap booking: You can use corsages, bouquets, or the colored part of the flower to craft your garden scrapbook. The compressed and dried flowers should be in a straight line, added to your scrapbook page, and smoothly seated near your photographs. Your dry flowers and compressed flowers should be laminated. Use Xyron, or any acid-free product to laminate your flowers. During the fall is the best time to pluck materials to make up a garden scrapbook. As you make up your garden scrapbook consider title page, captions, journal, lettering, photos, plant species, headings and more. If you are adding fall leaves to your scrapbook, you may want to visit a copy shop. You will need to place the leaves in a sealed container when transferring the leaves. The leaves with depreciate over time if you fail to follow instructions. You can add the leaves at your title page to start your garden scrapbook. If you are making up a scrapbook to present your garden, snap a few pictures and make up a blueprint. The blueprint should include each detail of your garden. Following, you can add a journal to let your friends and family know how you invented your garden. When to take photos: Spring, summer, winter, and fall is the best time to take photos of your garden. Each season provides you a variety of colors, shades, texture, blooms, etc. Once you snap the shots add them to your garden scrapbook. If you want to get created you can cut, paste, and add extras to your scrapbook, i.e. cut magazine clips based on your garden theme and add them to your scrapbook. Also, you can add tips beside your pictures to help your family and friend learn. During the seasons, you want to document your gardens activities as well as your own to create a genealogy, and history of your scrapbook. Record detail specifics to help your audience learn from your efforts. During the summer record, the blooms so that when winter comes you can look back on your success. When the blooms start to grow, you may want to snap photos so that you can add to your scrapbook. Try crafting your scrapbook in a chronological order so that your book tells the story you want to portray to the audience.
 Photo by Manesh Xavier on
  Photo by Artem Bali on
 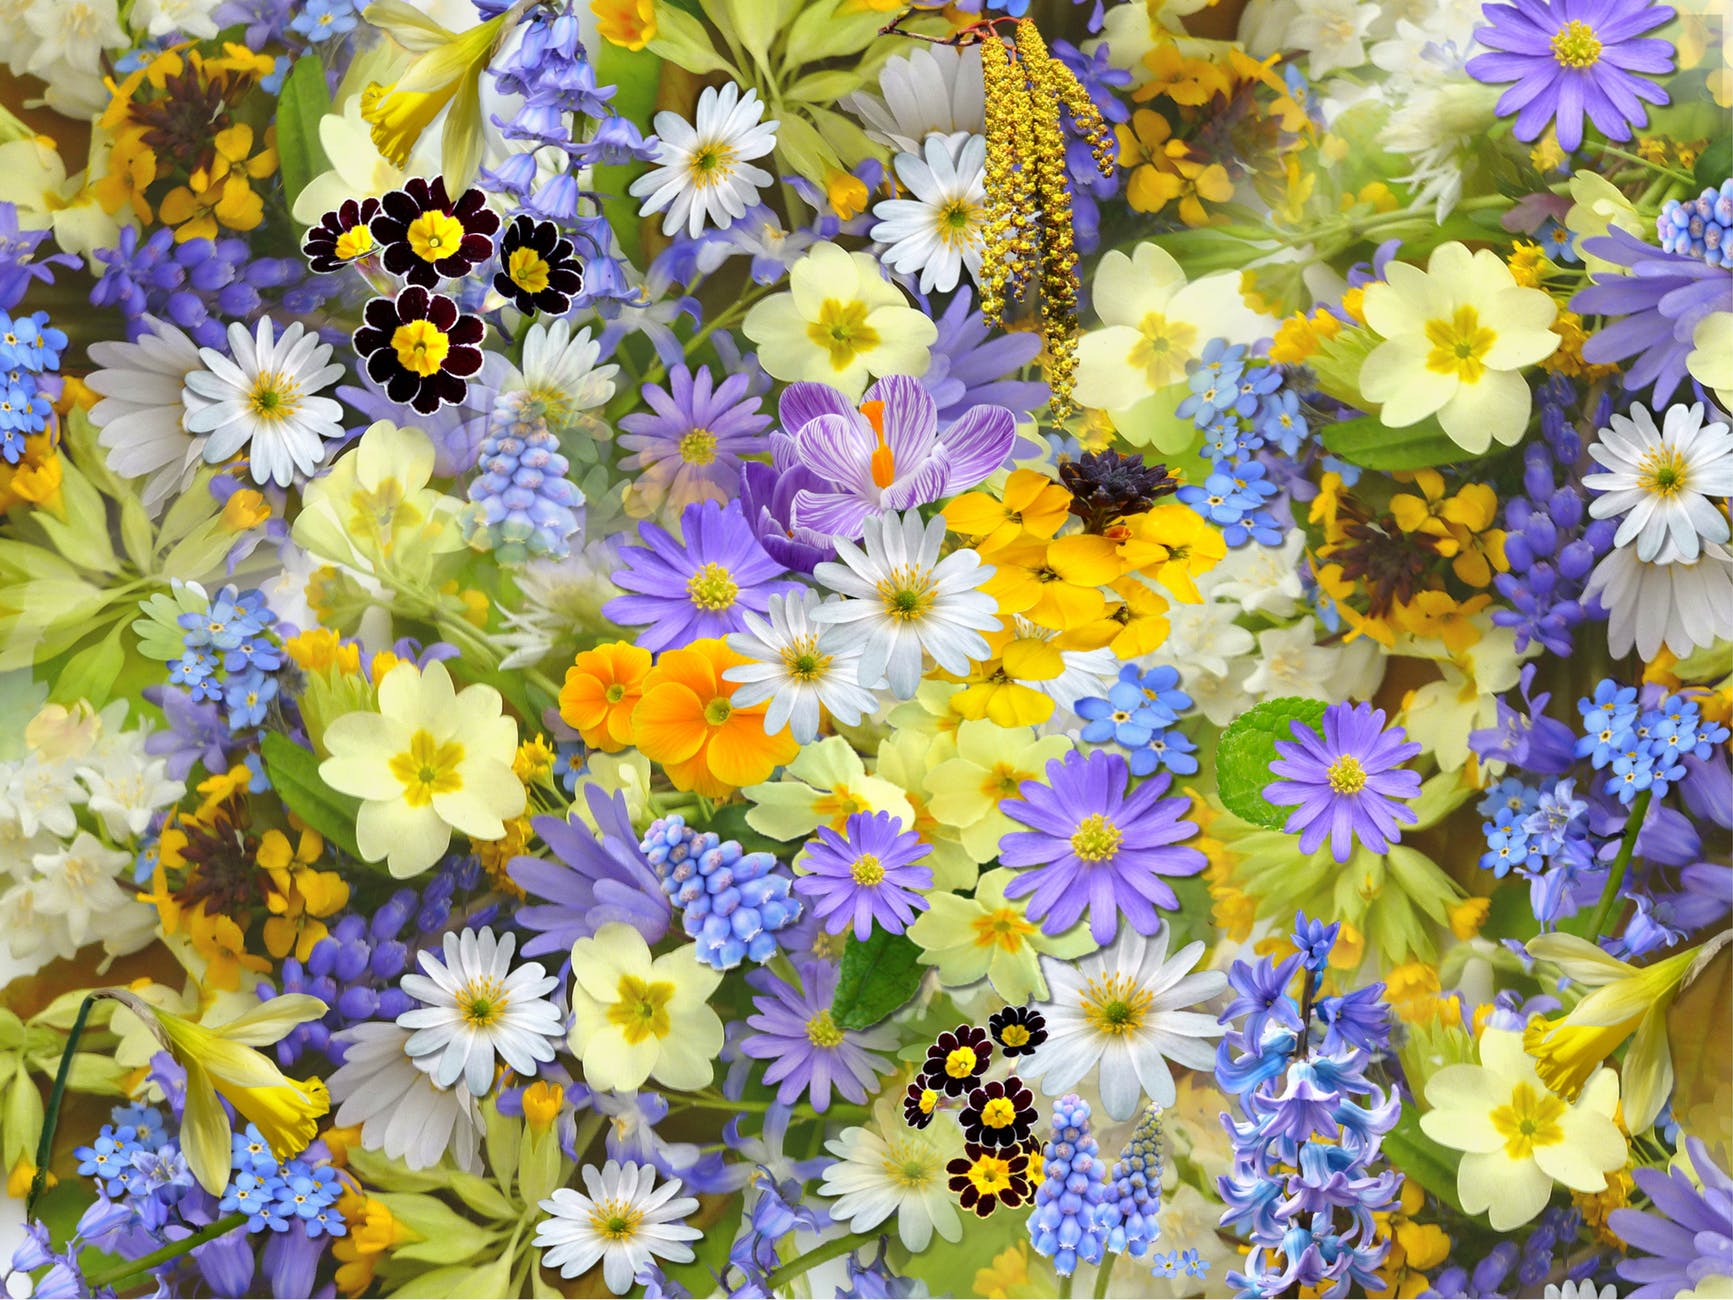 Photo by Pixabay on


 Website Stores